A few months ago, I saw some pictures and reels(shorts) about people having Hobbit parties or Hobbit Tea Parties, and the idea caught my fancy. I started collecting ideas, making a Pinterest board, and planning how I would bring a Hobbit party to life in my home.
The food
One of my great joys in life is preparing food for people – I always over prepare food and it’s one of those things I can do with joy no matter how long it takes. It’s a gift to me to see other people enjoying my food and menus. So, for the Hobbit Tea Party, I started with the food. I wanted to embrace the tea party aspect with some traditional tea party foods, but also lean into the Hobbit theme. Hobbits are very English inspired – specifically pre-Columbian exchange English – so I focused medieval English inspired foods and potato dishes.
(Potatoes are a “New World” food, but still heavily associated with Hobbits. They’re thought to originally come from Peru.)
I really wanted to create a three tiered tea tray with the traditional finger foods, but I ordered the wrong thing from Amazon and didn’t have time to fix my mistake so I didn’t end getting to plate my food on a tea serving tray. A Victoria Sponge Cake was considered, but ultimately I decided not to make the attempt this time – one day, I’ll bake the traditional dessert (#goals)! My nods to the traditional tea foods ended up including some finger sandwiches and macarons.
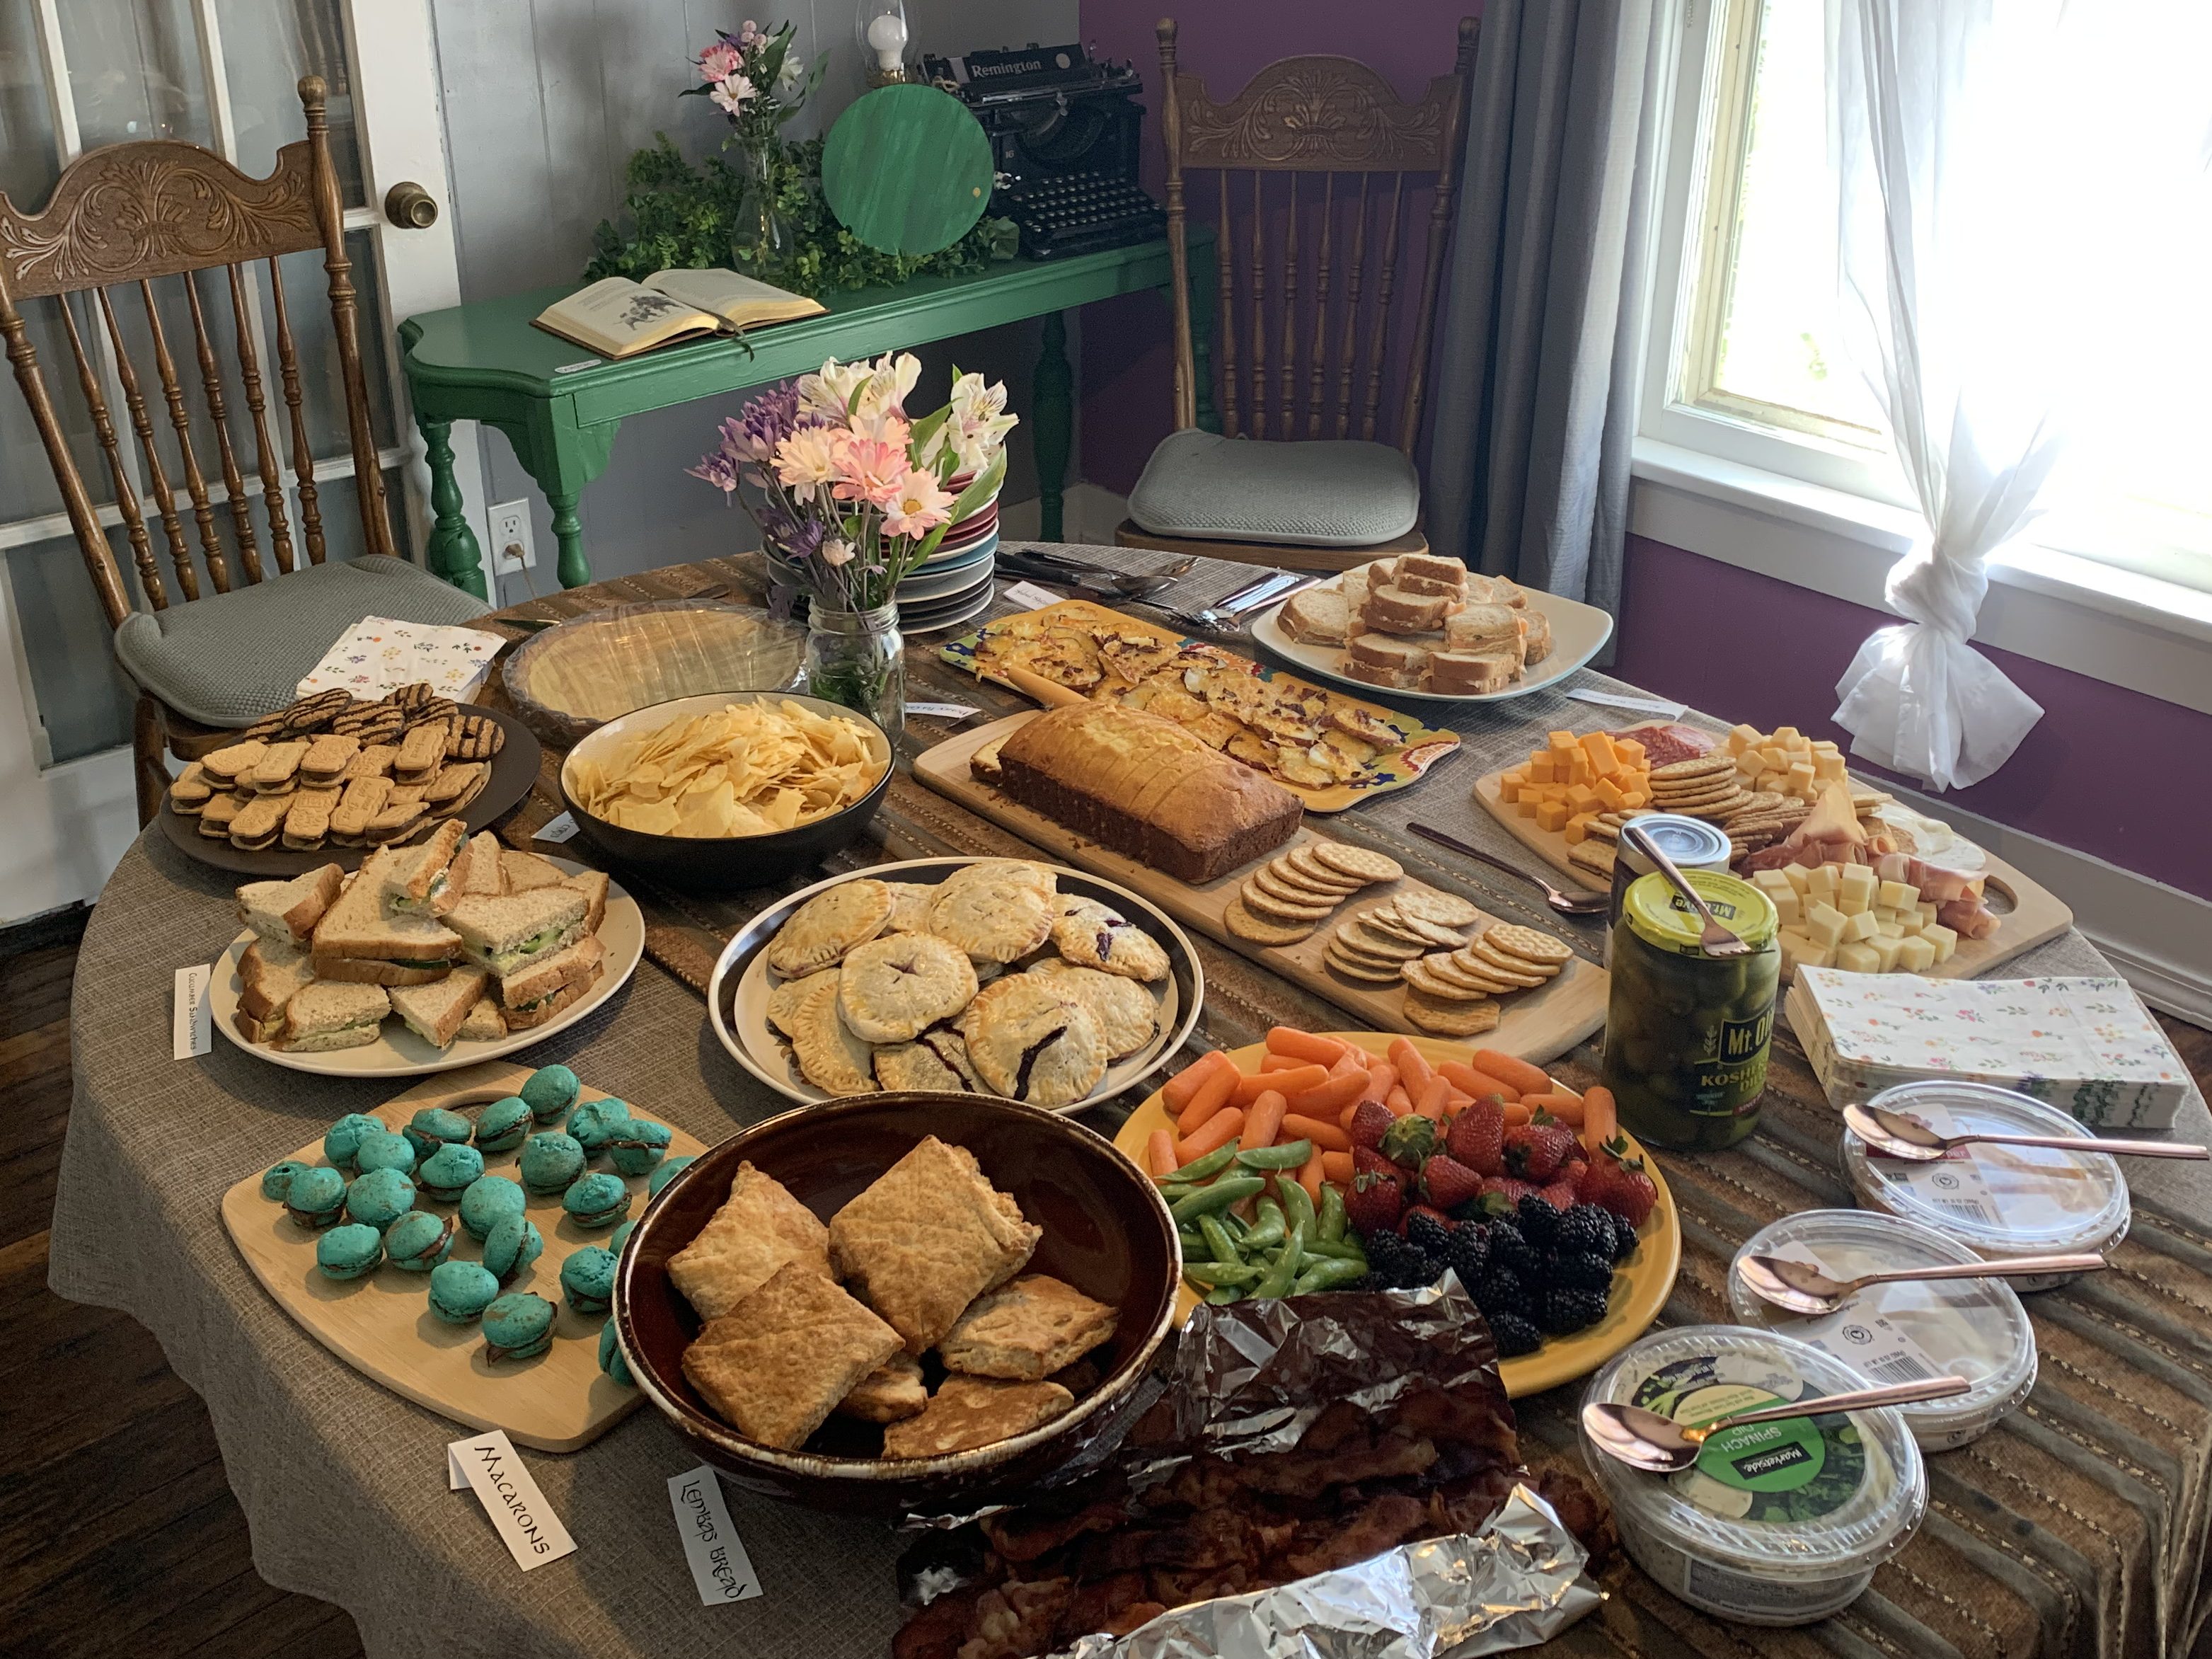
My final menu was:
- Charcuterie Board
- Cheddar, Monterey Jack, and Gouda cheese with crackers and deli meats from Aldi
- Potato rounds with cheese and bacon
- Made the day of. Heats up well in an airfryer though.
- Tea sandwiches
- Made the day before and refrigerated according the instructions which worked well.
- Lembas Bread
- Made the day before and lasted for several days in a ziplock bag on the counter.
- Bacon
- Made the day before and reheated in the oven
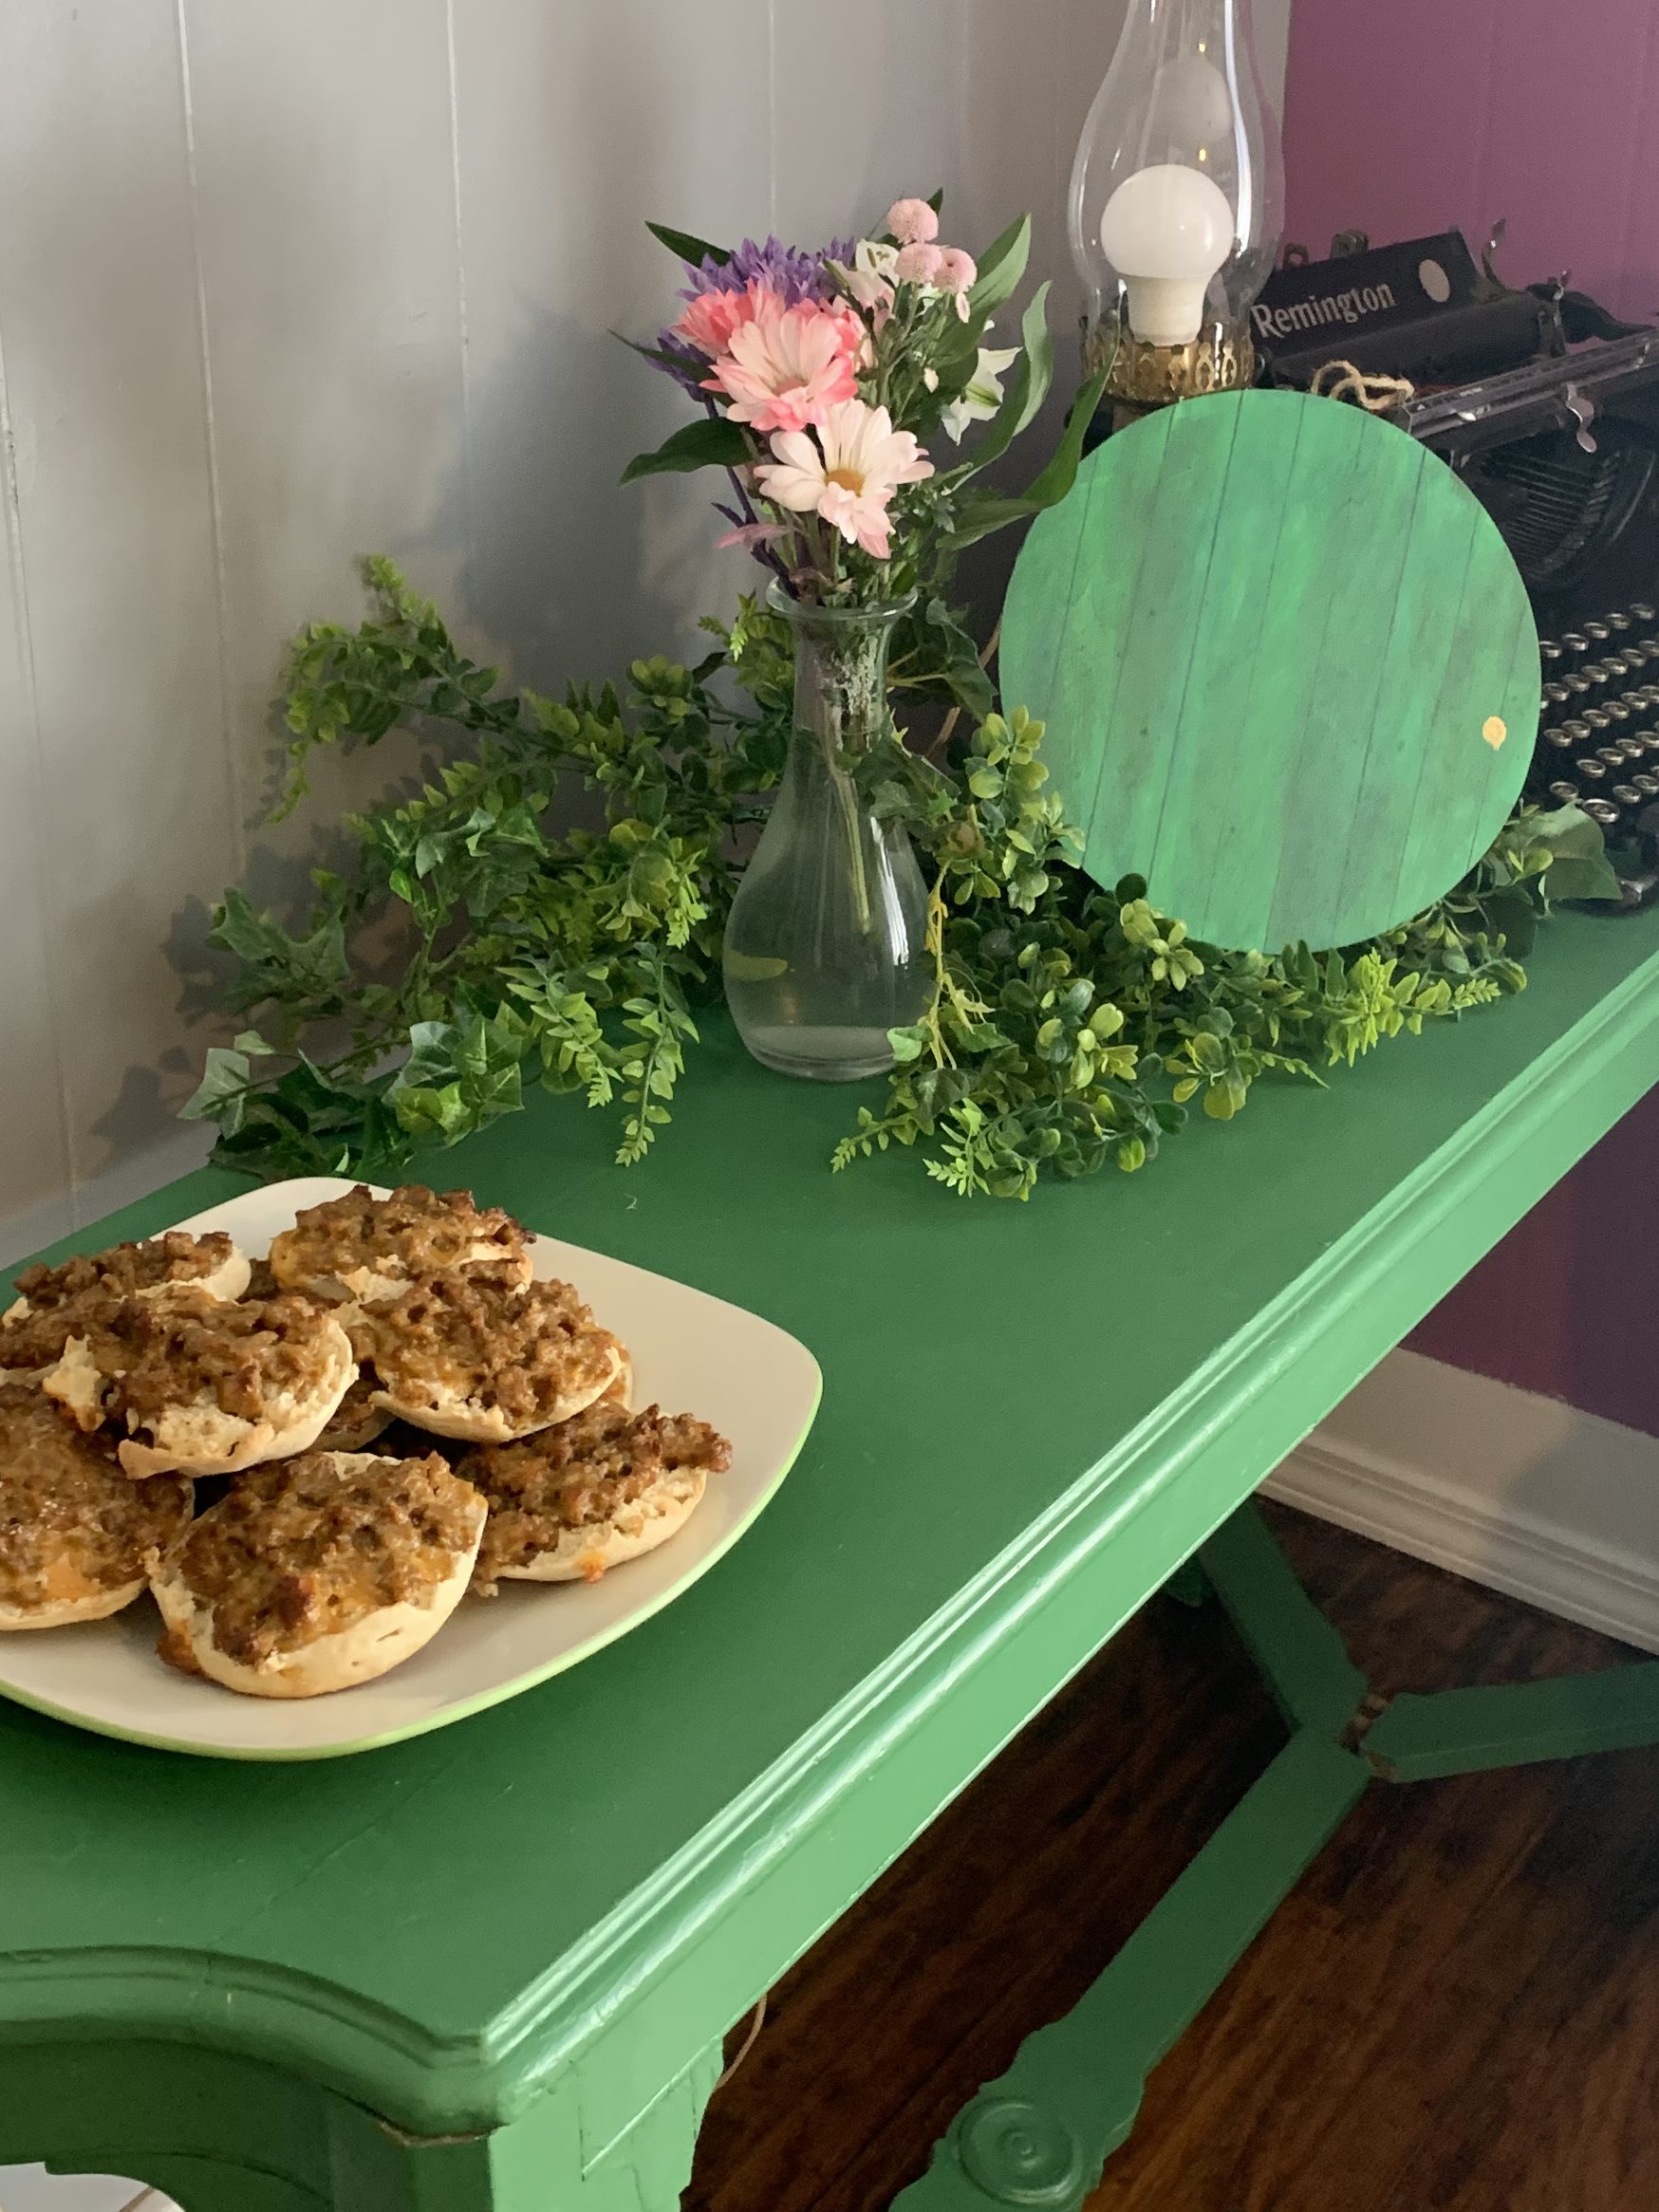
- Sausage muffins
- Made a few days before and frozen, then reheated in the oven on the airfryer setting.
- Po-ta-to chips
- Pickles
- Hummus
- Spinach Dip
- Honey tea cake
- Made a few weeks before and frozen. Thawed in the fridge, and then microwaved about twenty seconds.
- Blueberry pie cookies
- Made a few days before and frozen. Thawed in the fridge.
- Tart de Bry – From the Tasting History cookbook, but an early version available on Youtube
- Made the day before and kept in the fridge.
- Cinnamon Macarons with Nutella filling – From French Macarons for Beginners
- Shells made the day before, and filled the day of.
- An assortment of fruit and veggies
- Elf cookies and fudge cookies from the store
Some afterthoughts on the menu: I’ve made macarons several times before, but even I can’t consistently get them to look pretty yet (my level of caring is around a 6.5/10 as long as they taste good) – so I wouldn’t attempt them for the first time at a party. It was also a rainy/humid day, so they took forever to develop their skin (if you know, you know). The dips ended up not being touched much, so I could have easily done without those. The Lembas bread was fairly easy and tasty, and very Hobbit-y, but I had trouble getting it to roll out well. The blueberry pie “cookies” are less cookies and more mini pies – good, but misnamed. I’ve made mini pies in a more traditional hand pie shape before, and I think this method was easier once I got the hang of it – I did end up using twice the amount of dough listed in the recipe though. The tart de bry is good, but would definitely be best with a food topping or something like that – it’s a bit boring on its own.
The Activities
Food is very easy for me to brainstorm, activities are less so. Doing things? At party? Not just eating? Crazy.
Anyway, this proved to be a bit of a stumbling block because I didn’t want to just put on a movie and most of the activities I could find online were geared towards children while my party would be for adults. I’m also not highly confident in nor desirous of leading a large group activity like trivia or a game. So, I settled on providing some tabletop games like hook and ring and a flower crown making station. I looked up a few ways to make flower crowns, but struggled with finding something that fit my idea. Some of those tutorials that I found are included on the Pinterest board linked below, but I ended merging a few techniques to make the crowns.
I started out by taking some extra artificial flowers I had and some newly acquired flowers from Walmart, and I pulled the flowers off of the stems. I then trimmed the plastic nub down with wire cutters until it was flat. Once that was done, I pushed floral wire through the center of the flower and secured it on both ends, leaving a tail of wire on the backside. For filler flowers/greenery, I just trimmed the pieces and wrapped wire around the ends. This is where I left the flowers for the guests to make their own crowns. It make the crown itself, you’ll take a length of wire slightly larger than your head, wrap the flowers around it, and then wrap the wire in floral tape. I found it easier to double the wire, then add the flowers.
Supplies: Fake flowers, floral tape, floral wire, wire cutters patience
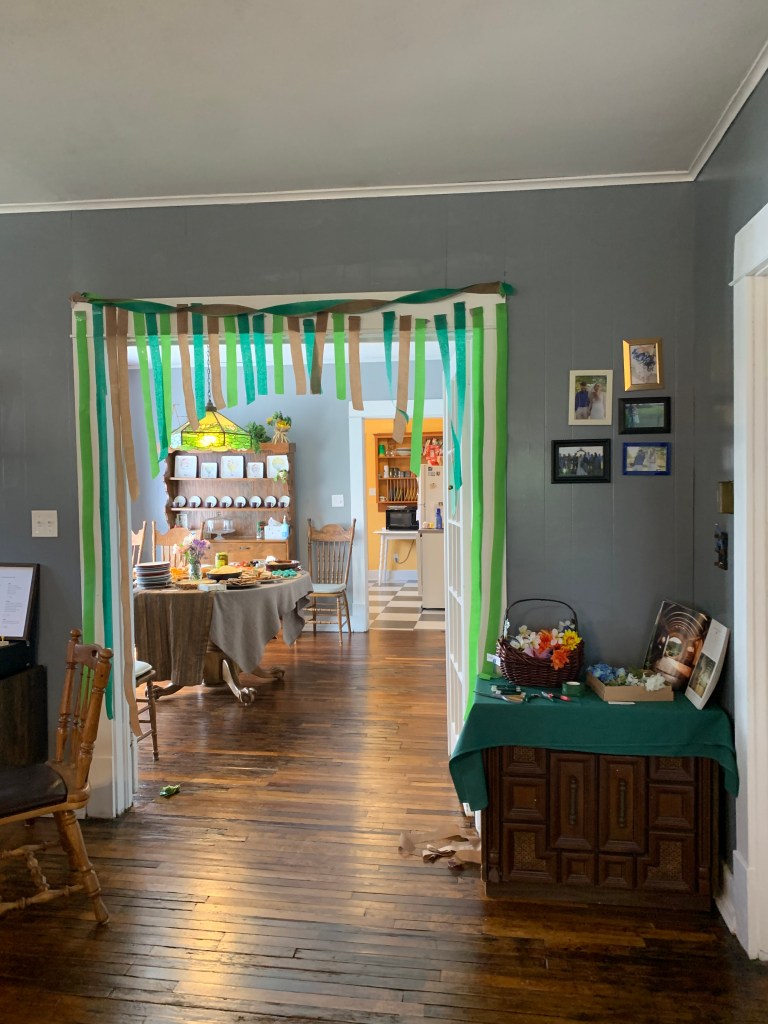
The decor
I got really stuck on the idea of having lots of tea cups and saucers all over the place, but then I couldn’t find the highly floral and fancy style ones that I wanted – and then I barely put out the ones I did manage to find! I had felt like I had seen the style of tea cups that I was imagining in thrift stores all the time, and then I couldn’t find them – so frustrating! Luckily, what I really needed to help transform my house was fake foliage and my mom had plenty of that in storage!

Honestly, not the best photo of the greenery, but we were kind of rushing at the end of our setup. We didn’t want to put much out ahead of time because our younger cat was highly interested in attacking everything we set out, so our decorating was very last minute and not much photographed. The greenery really did wonders at transforming the place into a slightly more mystical and fantasy world vibe. Nestled into the greenery are hobbit doors that I painted using Hobby Lobby blank round wooden pieces as the base. A larger hobbit door was hung on the front door (pictured below). On the large doorway between the living room and dining room, I attempted to mimic a rounded door using streamers – which was kind of successful? It could have been better done. One of my favorite pieces of decor though is the large hobbit backdrop I hung up on the wall. We got the 7ftx5ft, and the image quality is fantastic. I added grommets to the top in order to hang it. As a final touch, I had the Hobbit Party playlist linked above and below playing throughout the party which added a wonderful vibe to the setting.


Final thoughts
I had so much fun crafting this party and really enjoyed the experience. Despite the popularity of the Lord of the Rings, I found fewer ‘party’ items available for purchase than I thought I would, but that ended up just pushing my creativity. I’m actually a little bit of a ‘fake’ fan – I enjoy the vibe of the Shire and Hobbits, but I’m not really in the LotR fandom so I had to do some research to figure out how to pay a good homage to the Shire. I think I’ll do a themed party again, but I’ll probably go with a fandom that I’m more familiar with. All that to say, this was a really fun experience and I encourage you to embrace themed party planning if you feel a desire to do so!
Resources:
